Reason DAW and the Native Instruments Komplete Kontrol Keyboards
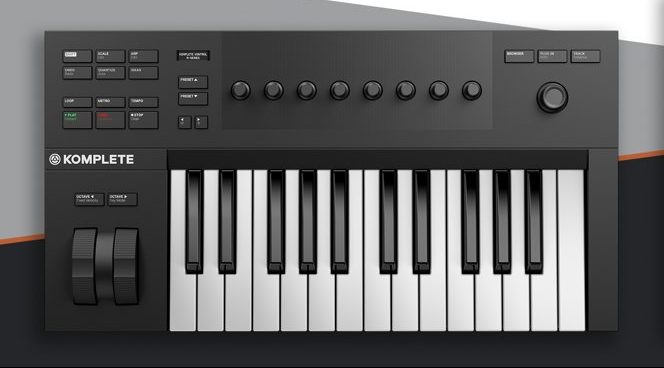
The Native Instruments Komplete Kontrol ecosystem / NKS family is pretty cool in that it theoretically lets you navigate a large library of virtual instruments, their presets and parameters all from your MIDI controller keyboard. Of the Komplete Kontrol family of hardware, the A-series, and the A25, in particular, is the small but very robust solution that sort of hits the sweet spot between this functionality, affordability, while not compromising the hefty build components that feel so pro.
Unfortunately, it is not a plug and play device; I found that every single DAW I tried it with needed special handling to get it to talk and even then the features were inconsistent.
The most daunting of these was getting it to work with Reason 11.
The first thing you have to do for any DAW to work with the A25 is to install the Komplete Kontrol software using Native Access. There is really no way around it if you want the keyboard to be more than a standard MIDI keyboard.
In Reason, here is the solution I ultimately found to get it to show up, do stuff, and behave:
Go to Edit->Preferences->

Then click the Control Surfaces tab.
Now we want to select and delete the default keyboard if any (unless of course, you have another device that you have already connected that you wish to keep active.)

‘Other’ Control Surface Panel in Reason 11
What we want is to select “Add Manually” and then under Manufacturer select “Other.” Then under Model select “MIDI Controller Keyboard.” I know, totally counterintuitive and not-sexy.
Ok so now we have the MIDI input part set up. But guess what? We have to do this again to get the controller to also work as a shuttle for the DAW.

Control Surface Panel in Reason 11
So in phase two what we are going to do is go back up and Add Manually again, but this time under Manufacturer choose “Mackie.” Then under Model choose “Control.”
Now there is one more step: make sure to set the Input and Output for the Controller. The easiest way is to choose FIND and then move or touch any control element on your keyboard. Reason will recognize it and give you two options the DAW option or the MIDI option. I found that using the DAW option did the trick for this application.

Mackie Control io in Reason 11
Boom: now your shuttle controls like Play, Rec, Stop, and Tempo will work!
Let me know if you try this and it helps you out. And if you have any other tips on this, please let me know.
Comments are closed.