Assorted Tip for Working with Insta360 ONE RS 1-Inch
Tutorials / July 31, 2023

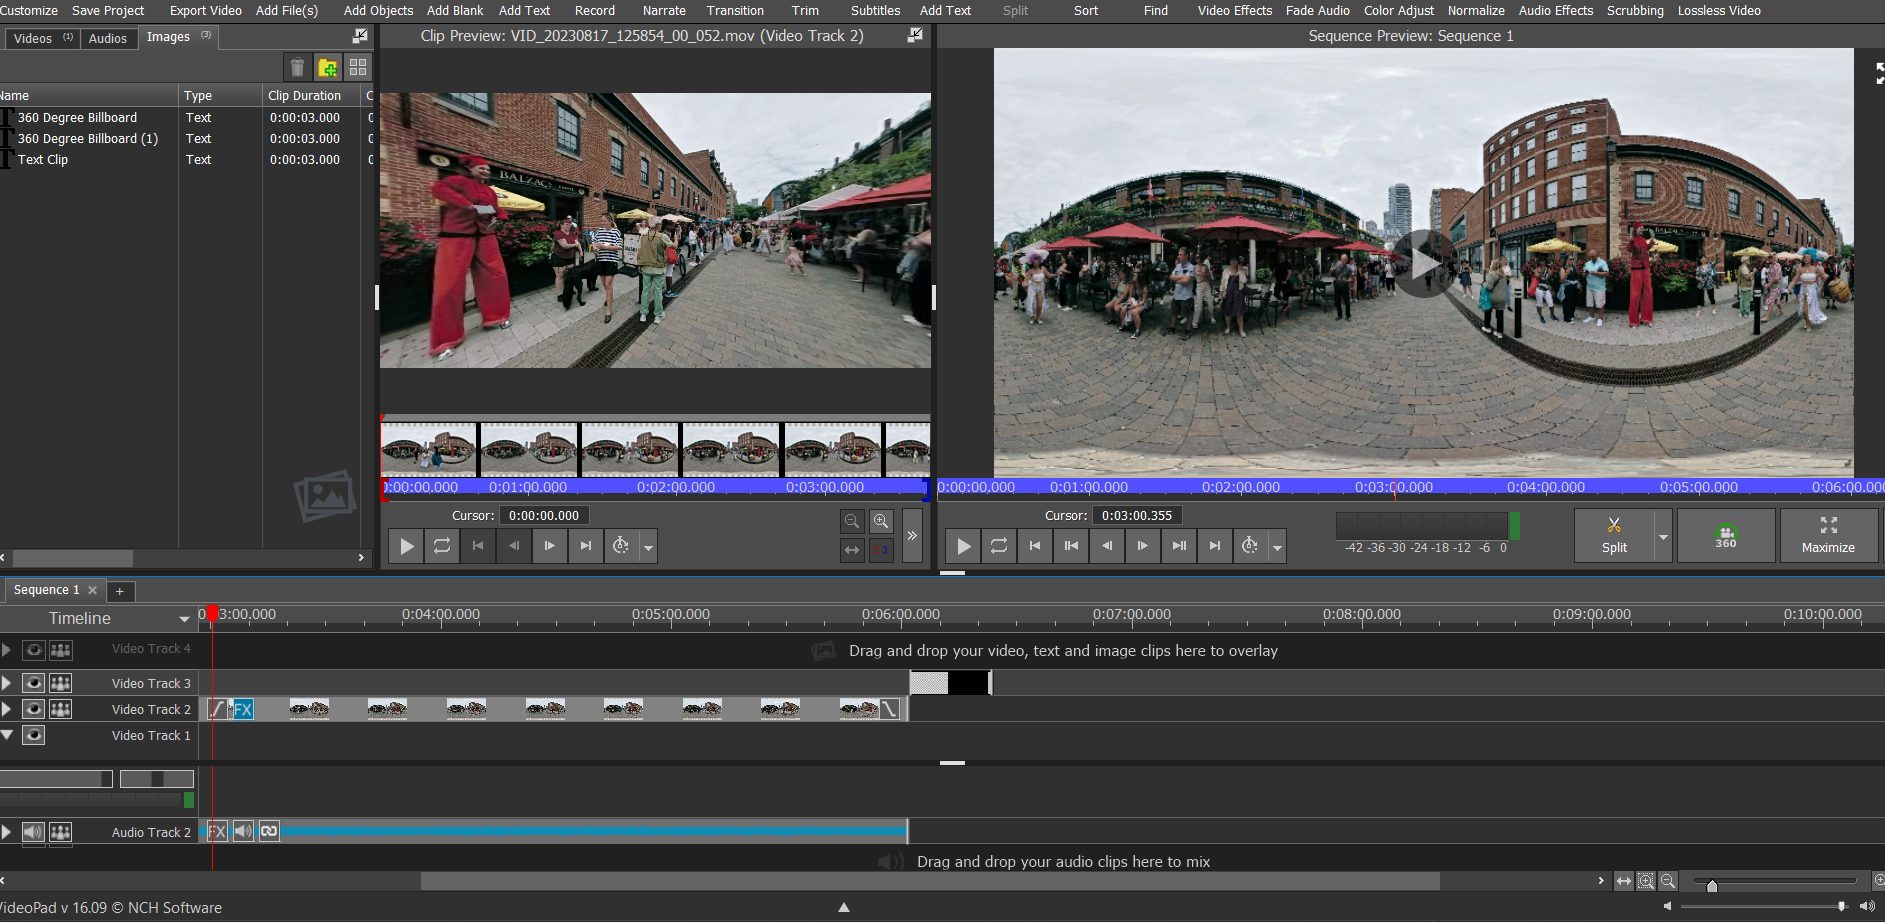
I had a pretty mission-critical shoot this week after owning my Insta360 ONE RS 1-Inch for only a couple of weeks, and these are the settings and workflow I used to ensure everything came out well. The setting may vary for you, but I hope it helps if you’re looking for some good starting points. Camera Setting Set Sharpen to Low Set color to Standard Set shooting resolution to 6K Frame rate: 30fps Notes: It heats up pretty fast. You can reduce this by turning off Wifi Auto all the time to On/Off. The same goes for the battery; turn that off to reduce battery drain Definitely get screen protectors. Whether or not you shoot with them on, the lenses are far too fragile and precious to leave unprotected except for when shooting. I used a tent-pole velcro strap sandbag to wrap about the base of the extended selfie stick. Even in wind, it did the trick and held perfectly. Insta360 Studio software: Open your files via the LRV format and copy all sides of the video with it to your local drive Your work will be saved in the INVS file. Exporting: I set mine to 360, H.265 mp4,…

Transform Your Images and Videos with LUTs: A Beginner’s Guide
Tutorials / December 14, 2022

LUTs, or Look-Up Tables, are a powerful tool for enhancing the colors and tones of digital images and videos. These sets of data can be used to transform the colors of an image in a predetermined way, allowing photographers and videographers to achieve a desired visual look in post-production. The proliferation of LUTs on digital marketplaces has made them more accessible than ever. This article explores the basics of LUTs, including when and when not to use them. Tips for shooting with LUTs in mind are also included.

HP Printer Solution: “Color mode was changed from color because of a conflict with another printer setting”
Tutorials / August 31, 2022

Thanks to TheBadwrench for solving what 5 HP virtual servants, printer diagnosers and other apps could not: The problem – you try to print color but the print keeps defaulting to monochrome. This is especially frustrating when you are on their pay as you go plan and burn through a print job that needed color but came out black and white. Click Start Menu Type then click on “devices and printers” Contrary to what the support people are telling everybody, do not remove your printer from the devices list Click “add a printer” On the following screen, even if your printer is listed, Click at the bottom where it says “the printer I want isn’t listed” On the next screen, select “my printer is a little older, help me find it” and click next It will show “searching for available printers”… this time select your printer from the list and hit next Windows will ask which version of the driver you want to use and give the following 2 options: Use the currently installed driver or replace the current driver. Select “replace the current driver” On the next screen, name your printer then hit “next” It will install the driver…

How To Stream Reaper Audio to Twitch via OBS
Tutorials / August 18, 2021

DIGITAL ROUTING FOR LIVE MUSIC STREAM BROADCAST I swear getting to the answer of the goal in the title can make you wish you were never born. I am going to forego all the flavor text and get to the point. After watching many different videos and reading forums on the subject, this guy’s video nailed the solution in the fewest steps which I hope to further assist with and eventually spare you all the watch time with a step-by-step list. Until I have had time to do that, here is the video I recommend for reference. Saving you hours of looking, I hope. After my own trial and error here are the answers: PREP: 1. Uninstall Reaper if you have it installed. Don’t worry, your themes, and settings will still be there when you have reinstalled it. Just do it. Don’t reinstall it yet. 2. Install OBS if you haven’t already. 3. Get a Twitch account if you haven’t already. LET’S GET THIS DONE: 4. Install Reaper, but on the 3rd screen, click open the + sign and make sure you choose the ReaRoute ASIO Driver which is NOT checked by default. Do this. 5. Go and download this…

Cockos Reaper Power Tips – Live Record Output From One Track to Another, Hotkey A Track Template
Tutorials / August 13, 2021

Tip 1: How to Record Live from One Track To Another Say you are doing a live performance pass and tweaking random parameters on the fly that you don’t want to record as automation. Here is how you do it: Make a Send from the Source Track to a New Track by dragging from the track’s Send button to the Destination track you wish to Record on. Arm the destination track for recording. Right-click on the arm record button and set it to Record Output then (presumably) Record Output (stereo). Tip 2: How to Setup a Keyboard Shortcut to Insert A Track from a Track Template and Why that’s Awesome Create your track setup in just the way you like it. This could even include the track color, the track image, or a synth with a specific patch loaded up! Save it as a track template. Now you can assign it to a hotkey using one of the following options: In the action list, assign a keyboard shortcut or midi CC to: To open a prompt to select a track with the mouse, choose: “Track: Insert track from template” To prompt for a slot number: “SWS/S&M: Resources – Import tracks…

How To Create a Surround Mix from A Stereo Mix in Reaper and Premiere Pro with Waves UM226
Tutorials / February 9, 2021

It’s surprisingly easy to upmix and create a totally pro surround mix from you regular stereo track, but only if you know the steps. In the WAVES Audio documentation, there was no instructions for Cockos Reaper or Adobe Premiere Pro. So I asked a WAVES rep to create the guide for me, and here is what I got, along with some of my own notes. I am sure this will help someone, and with the world of WebXR looming, and more and more 3D audio applications becoming available, this is your change to get into the mix! In Reaper: Make sure your Master track has 6 outputs (for a 5.1 setup), by clicking on Route, then changing Track Channels to 6 and adding the appropriate hardware outputs: Create a new track and add your stereo audio file to it In the audio track’s Route window, set Track Channels to 6, and make sure “Master send” is selected: Insert UM 226 on the audio track – it will now be upmixed to 5.1 and routed to your master track Note that all the surround waves plugin can take all the standard channel orders SMPTE, ITU, Film, ext’. As long as the…

Tips, Tricks and Hacks for Scoring With Cockos Reaper
Tutorials / March 25, 2020

Here are some things I discovered while switching to Reaper from Cubase after I landed a job scoring a TV show. 1. Get A Free MIDI Orchestra and Template for Reaper Download this awesome guide/template for reaper that also show you some free libraries that are already plugged into the template and ready for use. If you need to compose something today, and have no cash to spend, here is your solution! Reaper Orchestral Scoring Template v2019 – 100% Free!!! (101 Tracks) Thanks to AJB for putting that awesome collection together! 2. Using Subprojects for Scoring Your Film One of the main reasons I switched to Reaper from Pro Tools/Cubase, was because I love the robust management of subprojects from the main project timeline. As summed up in the SoundOnSound article: Reaper’s Subprojects allow the majority of the benefits from…setting up a master project to contain the entire film, but composing each cue inside a Subproject. This provides a ‘whole film’ view, where individual cues can be accessed quickly with a double click, and then edited. And, since we’re dealing with audio, any time-signature or tempo changes within a cue Subproject will remain completely independent of their neighbours, just like…