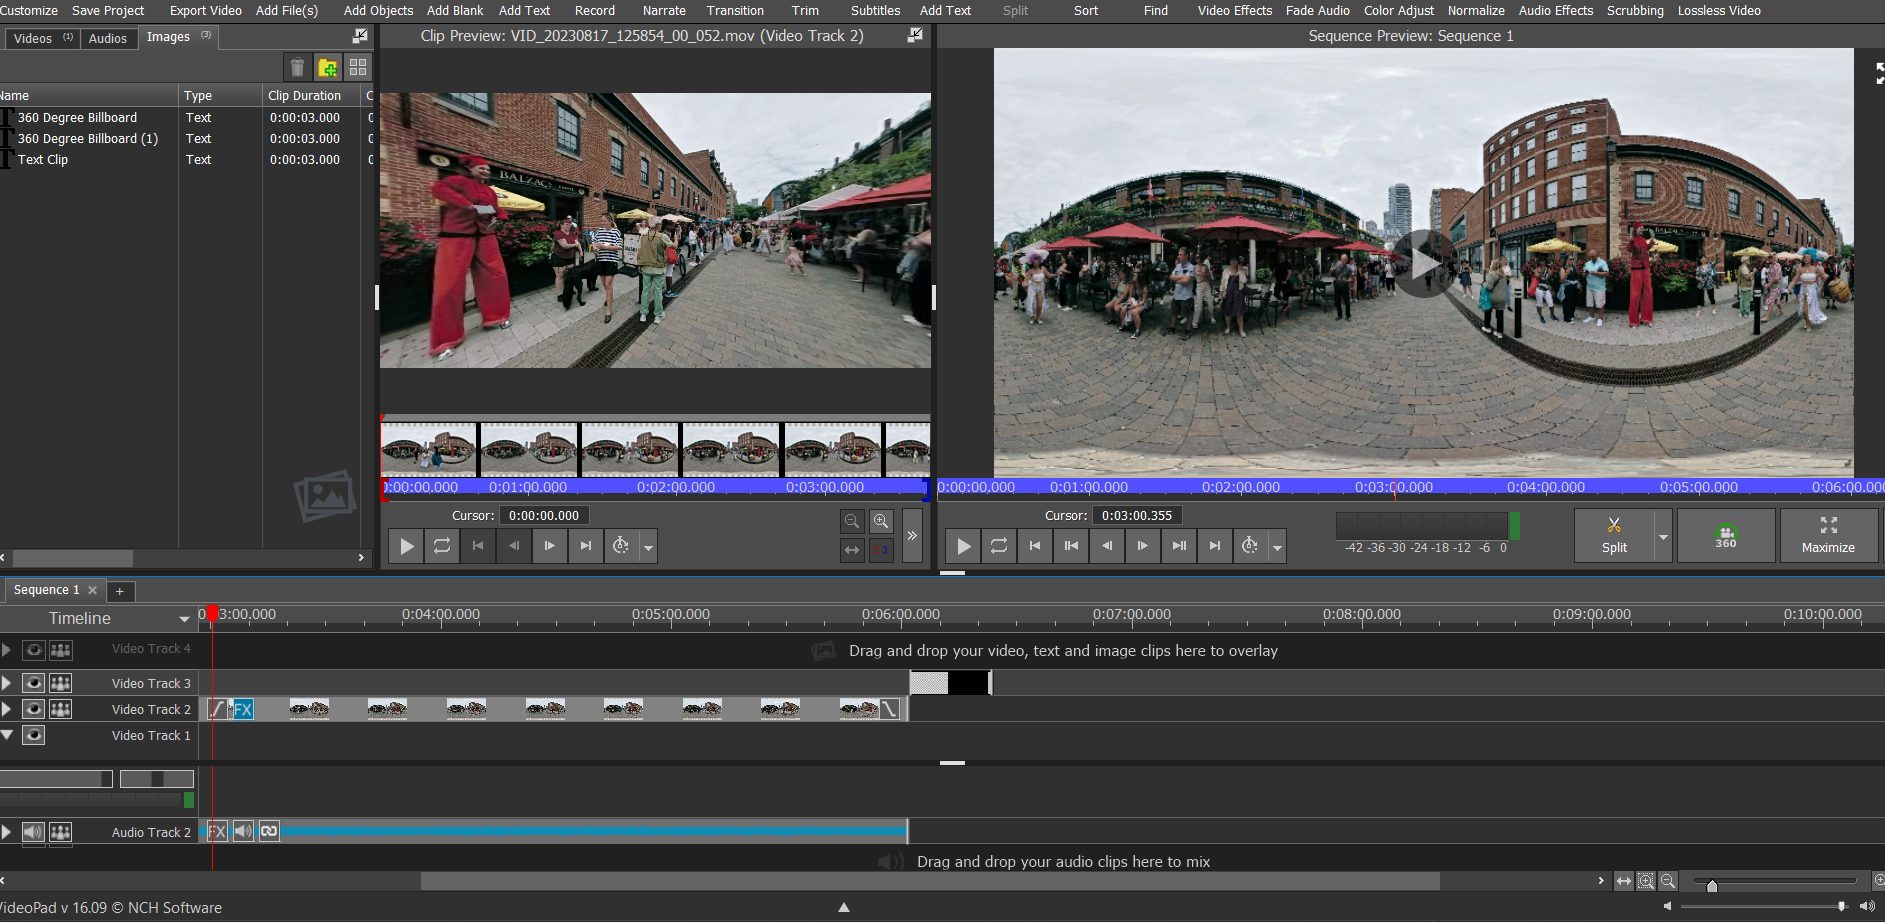
I had a pretty mission-critical shoot this week after owning my Insta360 ONE RS 1-Inch for only a couple of weeks, and these are the settings and workflow I used to ensure everything came out well. The setting may vary for you, but I hope it helps if you’re looking for some good starting points. Camera Setting Set Sharpen to Low Set color to Standard Set shooting resolution to 6K Frame rate: 30fps Notes: It heats up pretty fast. You can reduce this by turning off Wifi Auto all the time to On/Off. The same goes for the battery; turn that off to reduce battery drain Definitely get screen protectors. Whether or not you shoot with them on, the lenses are far too fragile and precious to leave unprotected except for when shooting. I used a tent-pole velcro strap sandbag to wrap about the base of the extended selfie stick. Even in wind, it did the trick and held perfectly. Insta360 Studio software: Open your files via the LRV format and copy all sides of the video with it to your local drive Your work will be saved in the INVS file. Exporting: I set mine to 360, H.265 mp4,…
I am always looking to build a better engine for audio and resonant frequency-based support for mental, physical, emotional, and spiritual states. After scouring the landscape for a good working solution, I realized I would have to roll my own. While an isochronic tone – a series of pulses – isn’t complicated in and of itself, I wanted to ensure that this one would sound good, handle changes smoothly, and help to experiment with pre-established, studied and proven ranges, for better experimentation and faster deployment. Here is the one sheet: The Isochronic Tones Generator plugin is a versatile audio tool designed to produce beats of specific frequencies for brainwave entrainment, relaxation, meditation, and other purposes. It comes with numerous customizable options and presets, making it accessible to both novice and experienced users. The plugin features sliders to customize the carrier frequency, beat frequency, duty cycle, fade length, gain, beat mix, limiter type, threshold, low-pass filter (LPF) cutoff, resonance, and LPF on/off. Users can choose preset options or manually set the carrier and beat frequencies. The duty cycle and fade length sliders modify the intensity and duration of the beats. To prevent clipping, the plugin includes a limiter function with the…
Learn how to customize Reaper’s interface with dark windows backgrounds and high contrast modes for comfortable use. Follow these tips to optimize your experience with this highly customizable software.
Get a head start with Da Vinci Resolve with these essential tips and keyboard shortcuts for video editing success. Learn how to import media, navigate the interface, and use editing tools to trim, cut, and rearrange clips in the timeline.
LUTs, or Look-Up Tables, are a powerful tool for enhancing the colors and tones of digital images and videos. These sets of data can be used to transform the colors of an image in a predetermined way, allowing photographers and videographers to achieve a desired visual look in post-production. The proliferation of LUTs on digital marketplaces has made them more accessible than ever. This article explores the basics of LUTs, including when and when not to use them. Tips for shooting with LUTs in mind are also included.
Thanks to TheBadwrench for solving what 5 HP virtual servants, printer diagnosers and other apps could not: The problem – you try to print color but the print keeps defaulting to monochrome. This is especially frustrating when you are on their pay as you go plan and burn through a print job that needed color but came out black and white. Click Start Menu Type then click on “devices and printers” Contrary to what the support people are telling everybody, do not remove your printer from the devices list Click “add a printer” On the following screen, even if your printer is listed, Click at the bottom where it says “the printer I want isn’t listed” On the next screen, select “my printer is a little older, help me find it” and click next It will show “searching for available printers”… this time select your printer from the list and hit next Windows will ask which version of the driver you want to use and give the following 2 options: Use the currently installed driver or replace the current driver. Select “replace the current driver” On the next screen, name your printer then hit “next” It will install the driver…
Group your track regions Group Items : Control+G Remove Items from Group : Control+Shift+G Select All Items in Groups : Shift+G Toggle Item Grouping Override : Alt+Control+G CTRL+L to hide/show lanes T – Next Take Shift + T – previous take Also here is an important tip: Somehow my settings got changed – maybe I was on a new computer, and I couldn’t cycle through takes. I spent hours trying to figure out if I had somehow locked them, or the track or whatever. Then I realized that the record mode I was in was record new recordings onto the same track, but not takes, which I believe are just one long recording with region splits. So to make sure you are actually recording multiple compable takes onto the same track check the Record Mode: Normal, and then under “New recording that overlaps existing media items” check that “Splits existing items and creates new takes (default) is checked:
When I was a child in the 1970s I grew up in a neighborhood with three Vanessas within a house or two from our duplex – including my sister – a Polish Ecuadorian, the Jamaican Vanessa around the corner and the Mexican Vanessa in the house behind ours, just across the yard before they built fences between all the houses. Before they did that (built the fences, that is) we just roamed free among all the backyards of the developing neighborhood that served as a global tour of cultures. My first best friend was a young girl named Aysha whose parents hailed from Brussels and New Delhi whose house I would escape to for samosas, naan with raspberry jam and butter whipped together, and Bollywood movies at lunch on the TV. Sometimes we would stir up all manner of bathroom and kitchen cleaner products with flour and baking soda just to see what would happen. Or ride around on our tricycles to meet up with other kids in the hood – like John whose disability had him using leg braces to walk or English Richard the auburn-haired kid with explosive freckles across his face who had a severe lisp and…
DIGITAL ROUTING FOR LIVE MUSIC STREAM BROADCAST I swear getting to the answer of the goal in the title can make you wish you were never born. I am going to forego all the flavor text and get to the point. After watching many different videos and reading forums on the subject, this guy’s video nailed the solution in the fewest steps which I hope to further assist with and eventually spare you all the watch time with a step-by-step list. Until I have had time to do that, here is the video I recommend for reference. Saving you hours of looking, I hope. After my own trial and error here are the answers: PREP: 1. Uninstall Reaper if you have it installed. Don’t worry, your themes, and settings will still be there when you have reinstalled it. Just do it. Don’t reinstall it yet. 2. Install OBS if you haven’t already. 3. Get a Twitch account if you haven’t already. LET’S GET THIS DONE: 4. Install Reaper, but on the 3rd screen, click open the + sign and make sure you choose the ReaRoute ASIO Driver which is NOT checked by default. Do this. 5. Go and download this…
Tip 1: How to Record Live from One Track To Another Say you are doing a live performance pass and tweaking random parameters on the fly that you don’t want to record as automation. Here is how you do it: Make a Send from the Source Track to a New Track by dragging from the track’s Send button to the Destination track you wish to Record on. Arm the destination track for recording. Right-click on the arm record button and set it to Record Output then (presumably) Record Output (stereo). Tip 2: How to Setup a Keyboard Shortcut to Insert A Track from a Track Template and Why that’s Awesome Create your track setup in just the way you like it. This could even include the track color, the track image, or a synth with a specific patch loaded up! Save it as a track template. Now you can assign it to a hotkey using one of the following options: In the action list, assign a keyboard shortcut or midi CC to: To open a prompt to select a track with the mouse, choose: “Track: Insert track from template” To prompt for a slot number: “SWS/S&M: Resources – Import tracks…