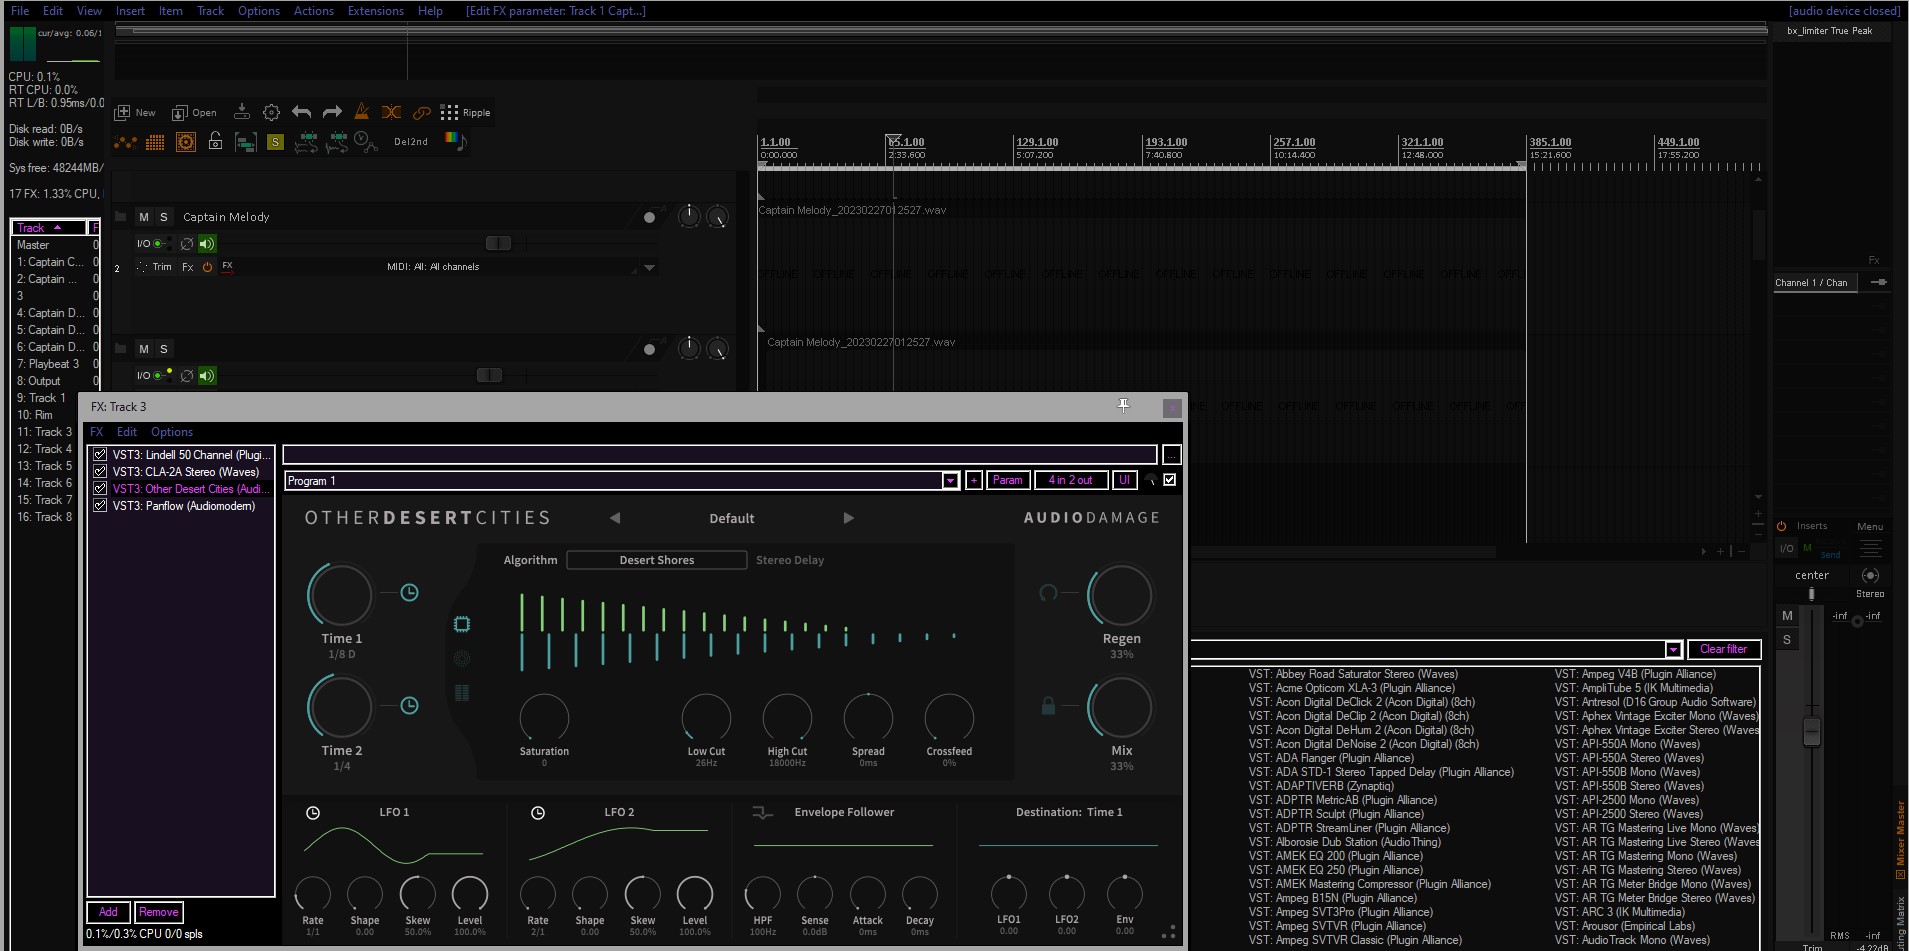
Learn how to customize Reaper’s interface with dark windows backgrounds and high contrast modes for comfortable use. Follow these tips to optimize your experience with this highly customizable software.
Group your track regions Group Items : Control+G Remove Items from Group : Control+Shift+G Select All Items in Groups : Shift+G Toggle Item Grouping Override : Alt+Control+G CTRL+L to hide/show lanes T – Next Take Shift + T – previous take Also here is an important tip: Somehow my settings got changed – maybe I was on a new computer, and I couldn’t cycle through takes. I spent hours trying to figure out if I had somehow locked them, or the track or whatever. Then I realized that the record mode I was in was record new recordings onto the same track, but not takes, which I believe are just one long recording with region splits. So to make sure you are actually recording multiple compable takes onto the same track check the Record Mode: Normal, and then under “New recording that overlaps existing media items” check that “Splits existing items and creates new takes (default) is checked:
DIGITAL ROUTING FOR LIVE MUSIC STREAM BROADCAST I swear getting to the answer of the goal in the title can make you wish you were never born. I am going to forego all the flavor text and get to the point. After watching many different videos and reading forums on the subject, this guy’s video nailed the solution in the fewest steps which I hope to further assist with and eventually spare you all the watch time with a step-by-step list. Until I have had time to do that, here is the video I recommend for reference. Saving you hours of looking, I hope. After my own trial and error here are the answers: PREP: 1. Uninstall Reaper if you have it installed. Don’t worry, your themes, and settings will still be there when you have reinstalled it. Just do it. Don’t reinstall it yet. 2. Install OBS if you haven’t already. 3. Get a Twitch account if you haven’t already. LET’S GET THIS DONE: 4. Install Reaper, but on the 3rd screen, click open the + sign and make sure you choose the ReaRoute ASIO Driver which is NOT checked by default. Do this. 5. Go and download this…
Tip 1: How to Record Live from One Track To Another Say you are doing a live performance pass and tweaking random parameters on the fly that you don’t want to record as automation. Here is how you do it: Make a Send from the Source Track to a New Track by dragging from the track’s Send button to the Destination track you wish to Record on. Arm the destination track for recording. Right-click on the arm record button and set it to Record Output then (presumably) Record Output (stereo). Tip 2: How to Setup a Keyboard Shortcut to Insert A Track from a Track Template and Why that’s Awesome Create your track setup in just the way you like it. This could even include the track color, the track image, or a synth with a specific patch loaded up! Save it as a track template. Now you can assign it to a hotkey using one of the following options: In the action list, assign a keyboard shortcut or midi CC to: To open a prompt to select a track with the mouse, choose: “Track: Insert track from template” To prompt for a slot number: “SWS/S&M: Resources – Import tracks…
Here are some things I discovered while switching to Reaper from Cubase after I landed a job scoring a TV show. 1. Get A Free MIDI Orchestra and Template for Reaper Download this awesome guide/template for reaper that also show you some free libraries that are already plugged into the template and ready for use. If you need to compose something today, and have no cash to spend, here is your solution! Reaper Orchestral Scoring Template v2019 – 100% Free!!! (101 Tracks) Thanks to AJB for putting that awesome collection together! 2. Using Subprojects for Scoring Your Film One of the main reasons I switched to Reaper from Pro Tools/Cubase, was because I love the robust management of subprojects from the main project timeline. As summed up in the SoundOnSound article: Reaper’s Subprojects allow the majority of the benefits from…setting up a master project to contain the entire film, but composing each cue inside a Subproject. This provides a ‘whole film’ view, where individual cues can be accessed quickly with a double click, and then edited. And, since we’re dealing with audio, any time-signature or tempo changes within a cue Subproject will remain completely independent of their neighbours, just like…